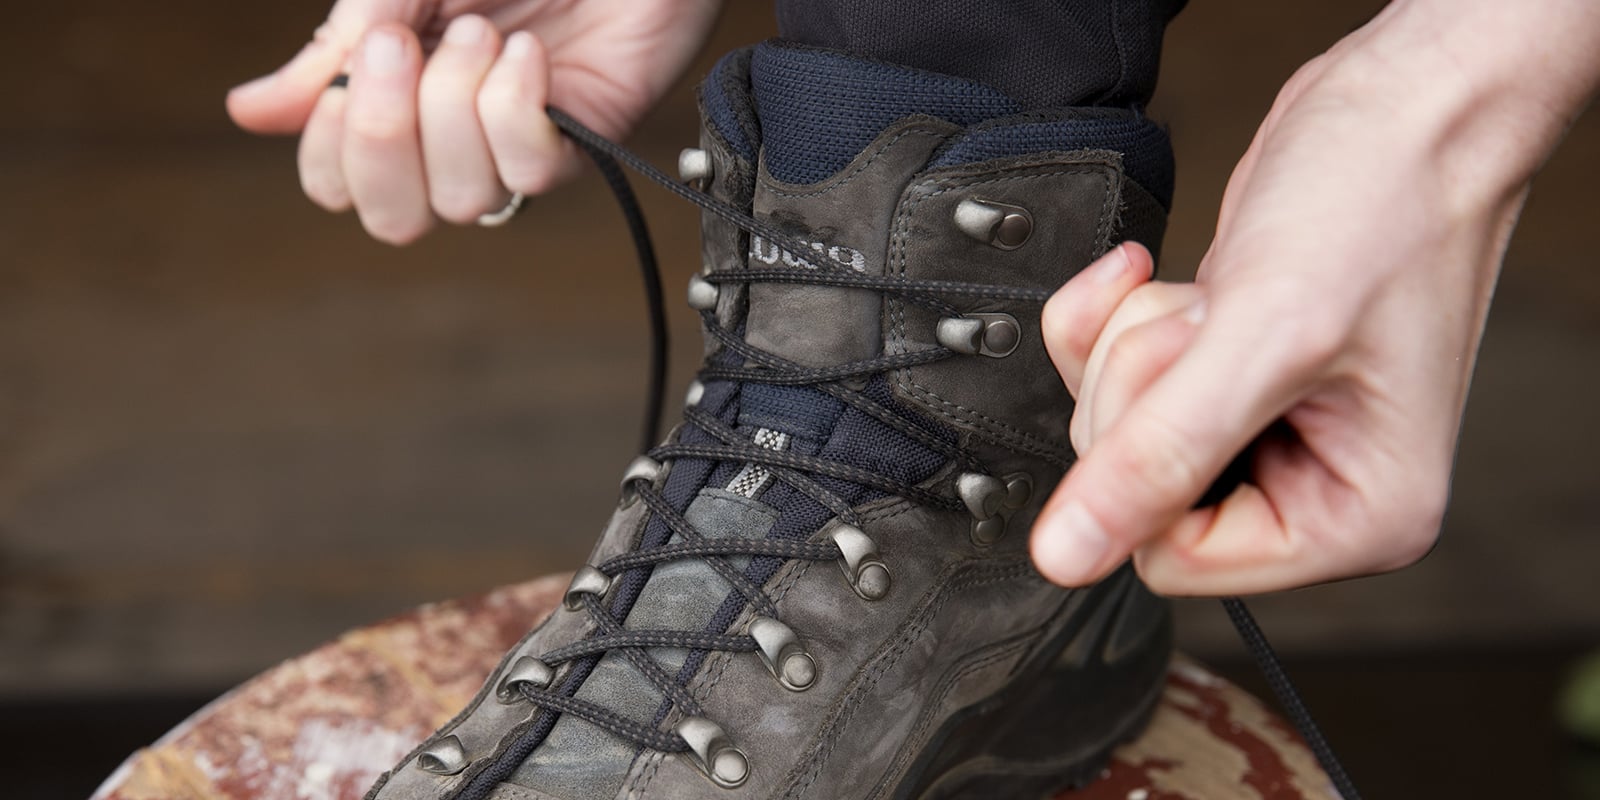
Do you love your hiking boots? I do. But sometimes, they don’t always feel comfortable, especially during long hikes. No matter how hard I try, I can’t find hiking boots that fit just right.
I’m sure it’s the same with you. It can be difficult to find a pair of hiking boots or hiking shoes that fit correctly without any problems. It’s even harder to know how to lace hiking boots properly.
They may feel fine at first, but then 30 minutes later, your toes start aching, your foot begins to feel tight, or you start getting blisters because your heels keep slipping.
Over the years, I’ve learned different techniques to go around this problem to help make both my hiking boots and my low-cut shoes fit better and more comfortable. The secret? The shoelaces.
Today, we will go through five basic techniques to properly tie your hiking boots. If you read until the end, you’ll see a way to combine these techniques to create a custom way of lacing!
What You Will Need
You will only really need two things:
- Your hiking shoes: either high cut boots or low cut shoes
- Shoelaces: You can use the shoelaces that come with your shoes, or you can purchase other kinds that you can try. Try going for longer ones so you can do more with the shoelaces.
Practice with the shoes and the actual socks you are going to wear for your hike and try the different techniques so you can see exactly what feels great for you.
Try walking around the house our outside for a minimum of 10 minutes to see if that type of lacing technique stays comfortable for you for a longer period.
1. Surgeon’s Knot (To Prevent Your Heel From Slipping)
When you feel like the heels of your feet, keep lifting off your shoes, this might mean there’s too much space at the top of your foot.
This can be a problem the longer you walk because not only is it difficult to walk, but it may also cause blisters on your heels during a long hike as well.
The Surgeon’s Knot helps fasten your boots together and holds it steadily in place. This type of lacing method works best with high cut boots, but you can also apply it to low cut shoes as well.
How To’s: Surgeon’s Knot
A good trick is to create two surgeon’s knots to really secure your feet in place. This is how:
- Find the two pairs of lace hooks that are closest to the top of your foot where it begins to flex forward or where you may feel too loose (maybe between the 3rd or 6th lace hooks). This is where you will tie your surgeon’s knot.
- Start lacing your shoes from the bottom in a regular way until you reach those lace hooks where you decided to tie your surgeon’s knot.
- Pull out any excess slack in the laces by pulling upwards towards you instead of outwards. You need your boots to fit snug over your feet.
- When you get to those lace hooks, wrap your laces around each other two times to create a type of helix and then pull tight.
- Run the ends of your laces directly up to the next hook so that the tension gets locked in place.
- Repeat step 3 on that set of your lace hooks.
- Tie the rest of your lace hooks the regular way.
The result should be two surgeon’s knots right next to each other. You should feel better support on the part of your feet where it flexes when you walk to prevent your heel from slipping.
2. Toe-relief Lacing (To Ease Pressure From Your Toes)
Sometimes, even if you’ve found great hiking shoes that fit comfortably, there is still a lot of pressure on your toes and makes them feel like they are dying.
This technique is a simple way to remove pressure from your toes and give them a break. You can do this in the middle of a hike when you feel too much pain.
The Surgeon’s Knot helps fasten your boots together and holds it steadily in place. This type of lacing method works best with high cut boots, but you can also apply it to low cut shoes as well.
How To’s: Toe-relief Lacing
A good trick is to create two surgeon’s knots to really secure your feet in place. This is how:
- Unlace your boots completely.
- Lace it back up the way you normally would but skip the first lace hook.
Simple!
3. Box Lacing (To Ease Top-of-feet Pressure)
If you feel pressure on the top of your feet, you may want to try this lacing technique to help relieve some of that pressure. It is called box or window lacing.
How To’s: Box Lacing
- Identify where on the top of your feet, you feel the most pressure.
- Unlace your shoelaces down to the lace hooks just below where you feel that pressure.
- Re-lace it by bringing your shoelace straight up to the lace hook directly above it.
- Finish lacing the rest of your shoes how you normally would.
Allowing that bit of space in between your shoelaces where that “box” is will help relieve the pressure in that area.
You can also adjust where to leave that space in your laces to select where you want to relieve some pressure. If there is too much pressure on your lower feet, for example, you can move that space lower.
4. Backward Lacing (For Heel Lock)
Backward lacing is another technique you can do to prevent your heels from slipping or lifting off your boots. It continues from a surgeon’s knot, then jumps to the top and works downwards.
This technique keeps the top part of your boot secure around your ankles and prevents your heels from slipping out of place.
How To’s: Backward Lacing
- Start by lacing your shoes in a regular way all the way to the point in the shoe where your feet begin to flex (bottom of the ankle, top of the foot).
- Create a surgeon’s knot on that point.
- Bring your laces all the way to the very last lace ring on the same side of the shoelace.
- Cross your laces to the ring below and continue all the way down until the last lace ring, making the tying point in the middle of the boot.
- Tie your laces together the way you normally would.
5. Lace Lock (For Low-cut Shoes)
Have you ever noticed that extra lace hole beside the last hole of your shoe that everyone just ignores? This time, you won’t be ignoring it because that is what will make your shoes fit you better.
Low-cut shoes use this type of lacing technique. It helps keep your heels in place the same way the surgeon’s knot helps keep your heels from slipping in your hiking boots.
I use this lace lock technique for almost all of my shoes – not just hiking. I also like using it for my running shoes because they give my feet that extra support and comfort I need.
How To’s: Lace Lock For Low-cut Shoes
- Start by lacing your shoes from the bottom the way you normally would all the way to the top.
- Take one lace and bring it backwards to the extra hole in the shoe on the same side as that lace, creating a loose loop.
- Repeat step 2 on the other side of your shoelace, so you end up with two small loops on both sides of your shoes.
- Cross your laces and insert them into the loop that you just created on the opposite side of the shoe.
- Pull your shoelaces down towards your shoes, not upwards. If you pull upwards, you’ll end up pulling those loops loose. Pull down all the way until the loops “close” and lock tightly against your shoes.
- Finish off by tying your laces closed the way you normally would.
Combination Lacing
Just like with almost anything in life, there is no “one size fits all” way of doing things. Since everyone has different feet, with different boots, going on different trails, the only way to get a really good fit is to try a lot of techniques yourself.
Something people do often is a combination of these basic techniques. A popular combination is the window lacing with the surgeon’s knot.
Combination lacing is the best way to see what is best for your feet by combining the other techniques.
REMINDER: Don’t tie your shoes too tight. You want the fit to be snug and secure but not too tight that your feet can’t breathe. If your feet start to feel tingly, blood flow is being constricted, so you need to loosen up a bit!
Final Thoughts
Learning these techniques can go a long way for your comfort while you are out on a hike. They are simple to do, and with some practice, you’ll be able to tie your shoelaces without any problem at all.
Have fun and try all kinds of techniques and combine them in ways that are right for you!
If you enjoyed this article, please share your thoughts in the comments below. If you have friends that have trouble with their hiking boots as well, feel free to share this article with them and spread the information!